Orchids


-

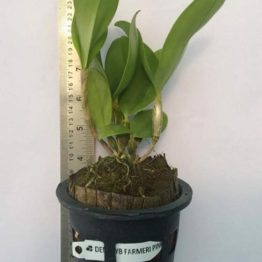
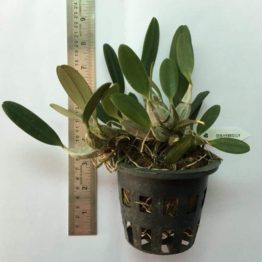
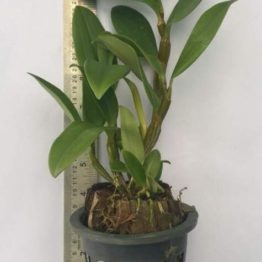
Dendrobium Farmeri Pink Medium Size Plant
₹1,099.00 Add to Cart -
Dendrobium Red Town Seedling
₹349.00 Add to Cart -
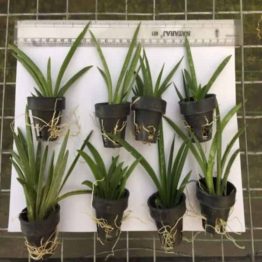
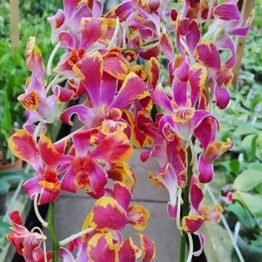
Orchid / Tolumnia Combo Pack 6 Plants
Sale! ₹1,799.00 Add to Cart -
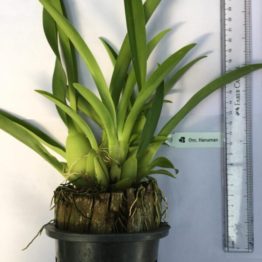
Oncidium Hanuman
₹999.00 Add to Cart -
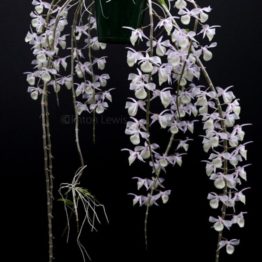
Fragrant Orchid / Rhynchostylis combo pack of 6
Sale! ₹2,299.00 Add to Cart -
Fragrant Orchid / RHYNCHOSTYLIS ORANGE (CHANG SOM) Seedling
₹499.00 Add to Cart -
Fragrant Orchid / RHYNCHOSTYLIS CHANG DANG
₹499.00 Add to Cart -
Fragrant Orchid / Rhynchostylis White Chang Pruak Seedling
₹499.00 Add to Cart -
Tolumnia Jairak Flyer ‘Oak’
₹449.00 Add to Cart -
Tolumnia Flyer Brown Spotty
₹449.00 Add to Cart -
Tolumnia Flyer super red
₹449.00 Add to Cart -
Oncidium twinkle Yellow
₹949.00 Add to Cart -
Oncidium twinkle Red
₹949.00 Add to Cart -
Oncidium Sharry Baby Sweet Smelling (Blooming Size)
₹1,049.00 Add to Cart -
Oncidium Golden Shower
₹649.00 Add to Cart -
Vanda Somsri Gold
₹449.00 Add to Cart -
Vanda Dr Anek x Warut leopard
₹449.00 Add to Cart -
Vanda Yellow Spot
₹449.00 Add to Cart -
Vanda Prapathom x Suksamran
₹449.00 Add to Cart -
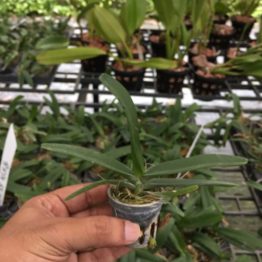
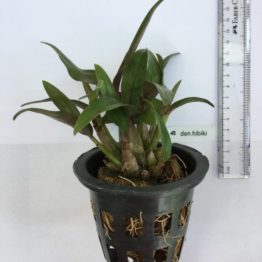
Dendrobium Hibiki Plant
₹1,299.00 Add to Cart -
Fragrant Orchid / Catasetum Clowesetum Penang Waltz
₹1,799.00 Add to Cart -
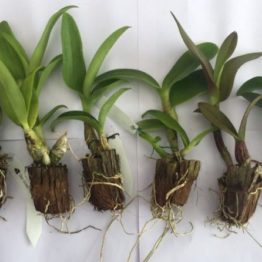
Dendrobium Tissue Culture Flasks (28 to 40 plants)
Sale! ₹1,499.00 Add to Cart -
Vanda Renanthera Azimah Bangkok Flame
₹1,049.00 Add to Cart -
Tolumnia Big Bang
₹449.00 Add to Cart -
Tolumnia Cute Rim
₹449.00 Add to Cart -
Fragrant Orchid / Rhynchostylis Spot Plai Seedling
₹499.00 Add to Cart -
Dendrobium Lindleyi Blooming Size
₹1,249.00 Add to Cart -
Combo Pack of 50 Different Dendrobium Colors
₹7,999.00 Add to Cart -
Fragrant Orchid / Catasetum Clowesetum Emerald Princess Green
₹1,749.00 Add to Cart -
Oncidium twinkle White Blooming Size
₹1,049.00 Add to Cart -
Oncidium Tzeng Wen Spots
₹1,149.00 Add to Cart -
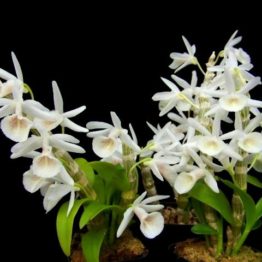
Kampangsan White Blooming Size
₹1,099.00 Add to Cart -
Vanda Seidenfadenia Mitrata “Yellow”
₹1,449.00 Add to Cart -
Dendrobium Convolutum Blooming Size
₹1,299.00 Add to Cart -
Dendrobium Amabile Blooming Size
₹1,299.00 Add to Cart -
Dendrobium Salcatum Blooming Size
₹1,199.00 Add to Cart -
Dendrobium YaYa Mini Compactum Blooming Size
₹699.00 Add to Cart -
Dendrobium Aphyllum Blooming Size (Wood Mounted)
₹1,399.00 Add to Cart -
Dendrobium Cretaceum (Polyanthum) Blooming Size
₹1,399.00 Add to Cart -
Dendrobium Thongchai BKK Seedling
₹349.00 Add to Cart -
Dendrobium Charming Seedling
₹349.00 Add to Cart -
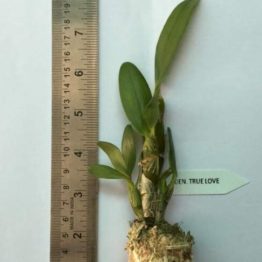
Dendrobium Nobile True Love Seedling
₹599.00 Add to Cart -
Dendrobium Kammam Seedling
₹349.00 Add to Cart -
Dendrobium Mini Pink Seedling
₹349.00 Add to Cart -
Dendrobium Pink Panda Seedling
₹349.00 Add to Cart -
Dendrobium Pink Stripe 23 Seedling
₹349.00 Add to Cart -
Dendrobium White Red Lip 283 Seedling
₹349.00 Add to Cart -
Dendrobium Pink Red Lip 22 Seedling
₹349.00 Add to Cart -
Dendrobium Mini 3 Lips Seedling
₹349.00 Add to Cart -
Dendrobium Lai Siam Seedling
₹349.00 Add to Cart


")


 Main")
 Main")